As preservice teachers, you are required to prepare detailed lesson plans. The process can take up a lot of time, but there is a reason you are required to dedicate so much time to lesson planning…
You will learn very quickly as a teacher that students require repeated practise to learn a skill and it can be as many as 200 times. Lesson planning during prac is exactly the same!
By the time you graduate as a teacher, you will have the process down to a fine art (well fine enough).
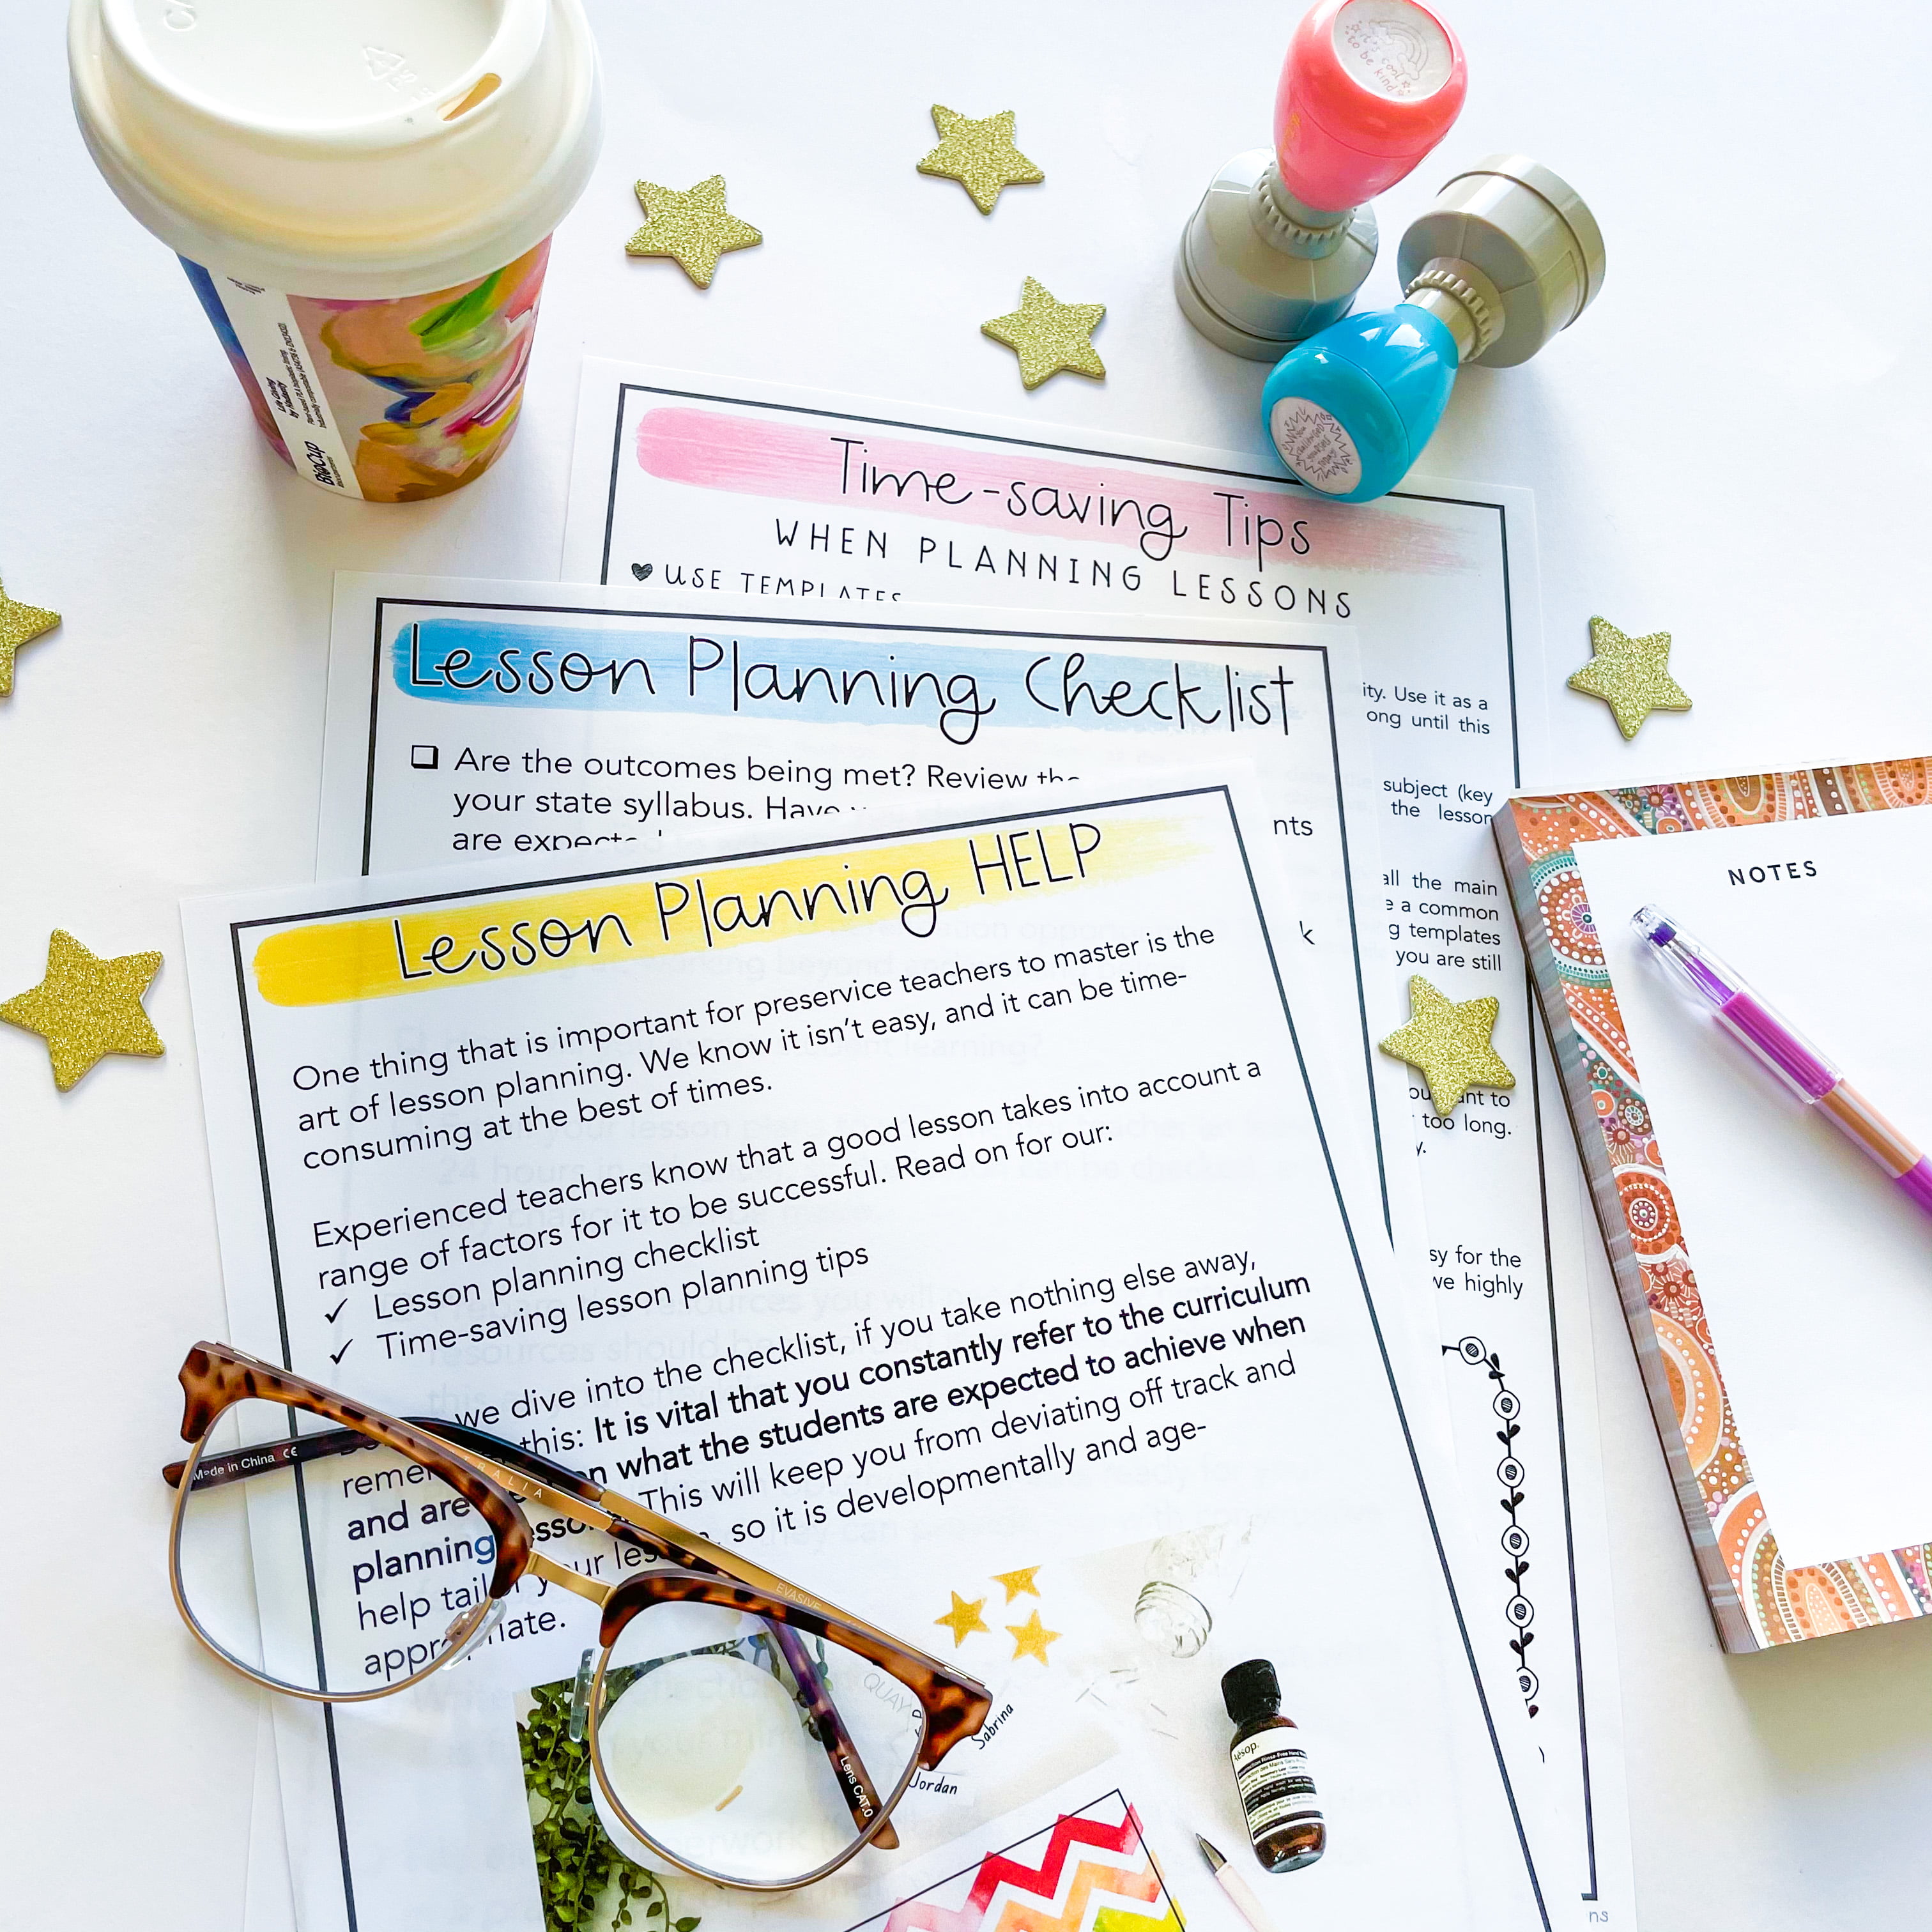
In Part 1 of this series, we shared our ultimate preservice teachers’ lesson planning checklist. In this article, we are going to divulge our time-saving tips so lesson planning doesn’t take you ALL night!
5 Time-saving tips for preservice teachers when lesson planning:
1. Use a template
First things first, use the recommended template provided from your university. Use it as a checklist to go through all that you need for a great lesson. It won’t be long until this becomes an automatic process for you.
The template should include information such as the year level, date, the subject (key learning area), duration of the lesson, outcomes, learning objective, the lesson components: warm-up, main lesson, plenary, resources and assessment.
Teacher Tip: Have a template set up for each key learning area with all the main information that doesn’t change already filled in. You may even want to include a common list of resources that you can add to or delete as you plan the lesson. Having templates setup is a massive teacher time-save, so it is helpful to get into the habit while you are still at university.
2. Keep track of time
When planning the components of a lesson be conscious of how much time you want to spend on your lesson warm-up. You don’t want students sitting on the mat for too long. Aim for no longer than 10 minutes for little ones and 15 minutes for upper primary.
The main portion of the lesson should take up the largest chunk of your lesson.
Finally, try to get into the habit of wrapping up your lesson – this is called the plenary. It is easy for the time to run away from you during a lesson. If you have a watch with a timer we highly recommend using it when teaching. I still use mine 13 years later.
3. Bookmark it!
Start bookmarking frequently visited websites used for teaching materials and inspiration. Pinterest is another good place teachers go to for lesson inspiration. We recommend creating boards on Pinterest or saved folders on Instagram such as Maths, Reading, Writing etc. so when you stumble across an idea you can pin it to the board/save it and come back to it later.
4. Consider investing
Find a website with trustworthy teaching materials you can use to help with lesson preparations. So much of your time for planning can be taken up searching for teaching materials, teaching videos, and so on. It is worth investing in a subscription, particularly if you are in your final year. Here are some suggestions:
- Twinkl
- Teachstarter
- Teach This
- Top Teacher
- StudyLadder
- The Literacy Shed
- Teachers Pay Teachers
Read this blog post of how to find quality resources.
We also have loads of helpful, ready-to-print resources on our Rainbow Sky Creations Website.
5. Copy and Paste
If you are creating a 5 part series on addition you will soon discover elements of the lesson will be similar.
It is perfectly fine to use the same warm-up game for the start of the lesson, in fact as the students become more familiar with an activity, the more successful it may become in teaching the content you are aiming for. Perhaps just don’t do it for all 5 lessons. Remember your prac is a time for you to experiment and try new teaching techniques in a safe environment.
If you are creating teaching slides, rather than reinventing every page – use a template that can easily be modified.
Some subscriptions have teaching slides ready to go! You do not need to make everything from scratch. We like to screenshot question examples from worksheets or online sources for students and use them in our slides. It is so much quicker than typing or formatting questions to fit on the slide.
6. Keep it short and to the point
Your lesson plans should not be pages and pages of teaching points. Aim to keep it short and sharp.
If it’s okay with your mentor teacher use bullet points to break your lesson into short sentences. You will find it is easier to read when teaching a lesson. Record key questions you want to ask students and highlight them so they stand out for easier identification. It’s easy to lose track of the planned sequence when the nerves kick in.
We hope this post has been helpful. If you missed it, check out Part 1 of our Preservice Teacher lesson planning here.
Remember, preservice teachers are on prac to learn. No one is expecting you to have perfect lesson plans from the start.
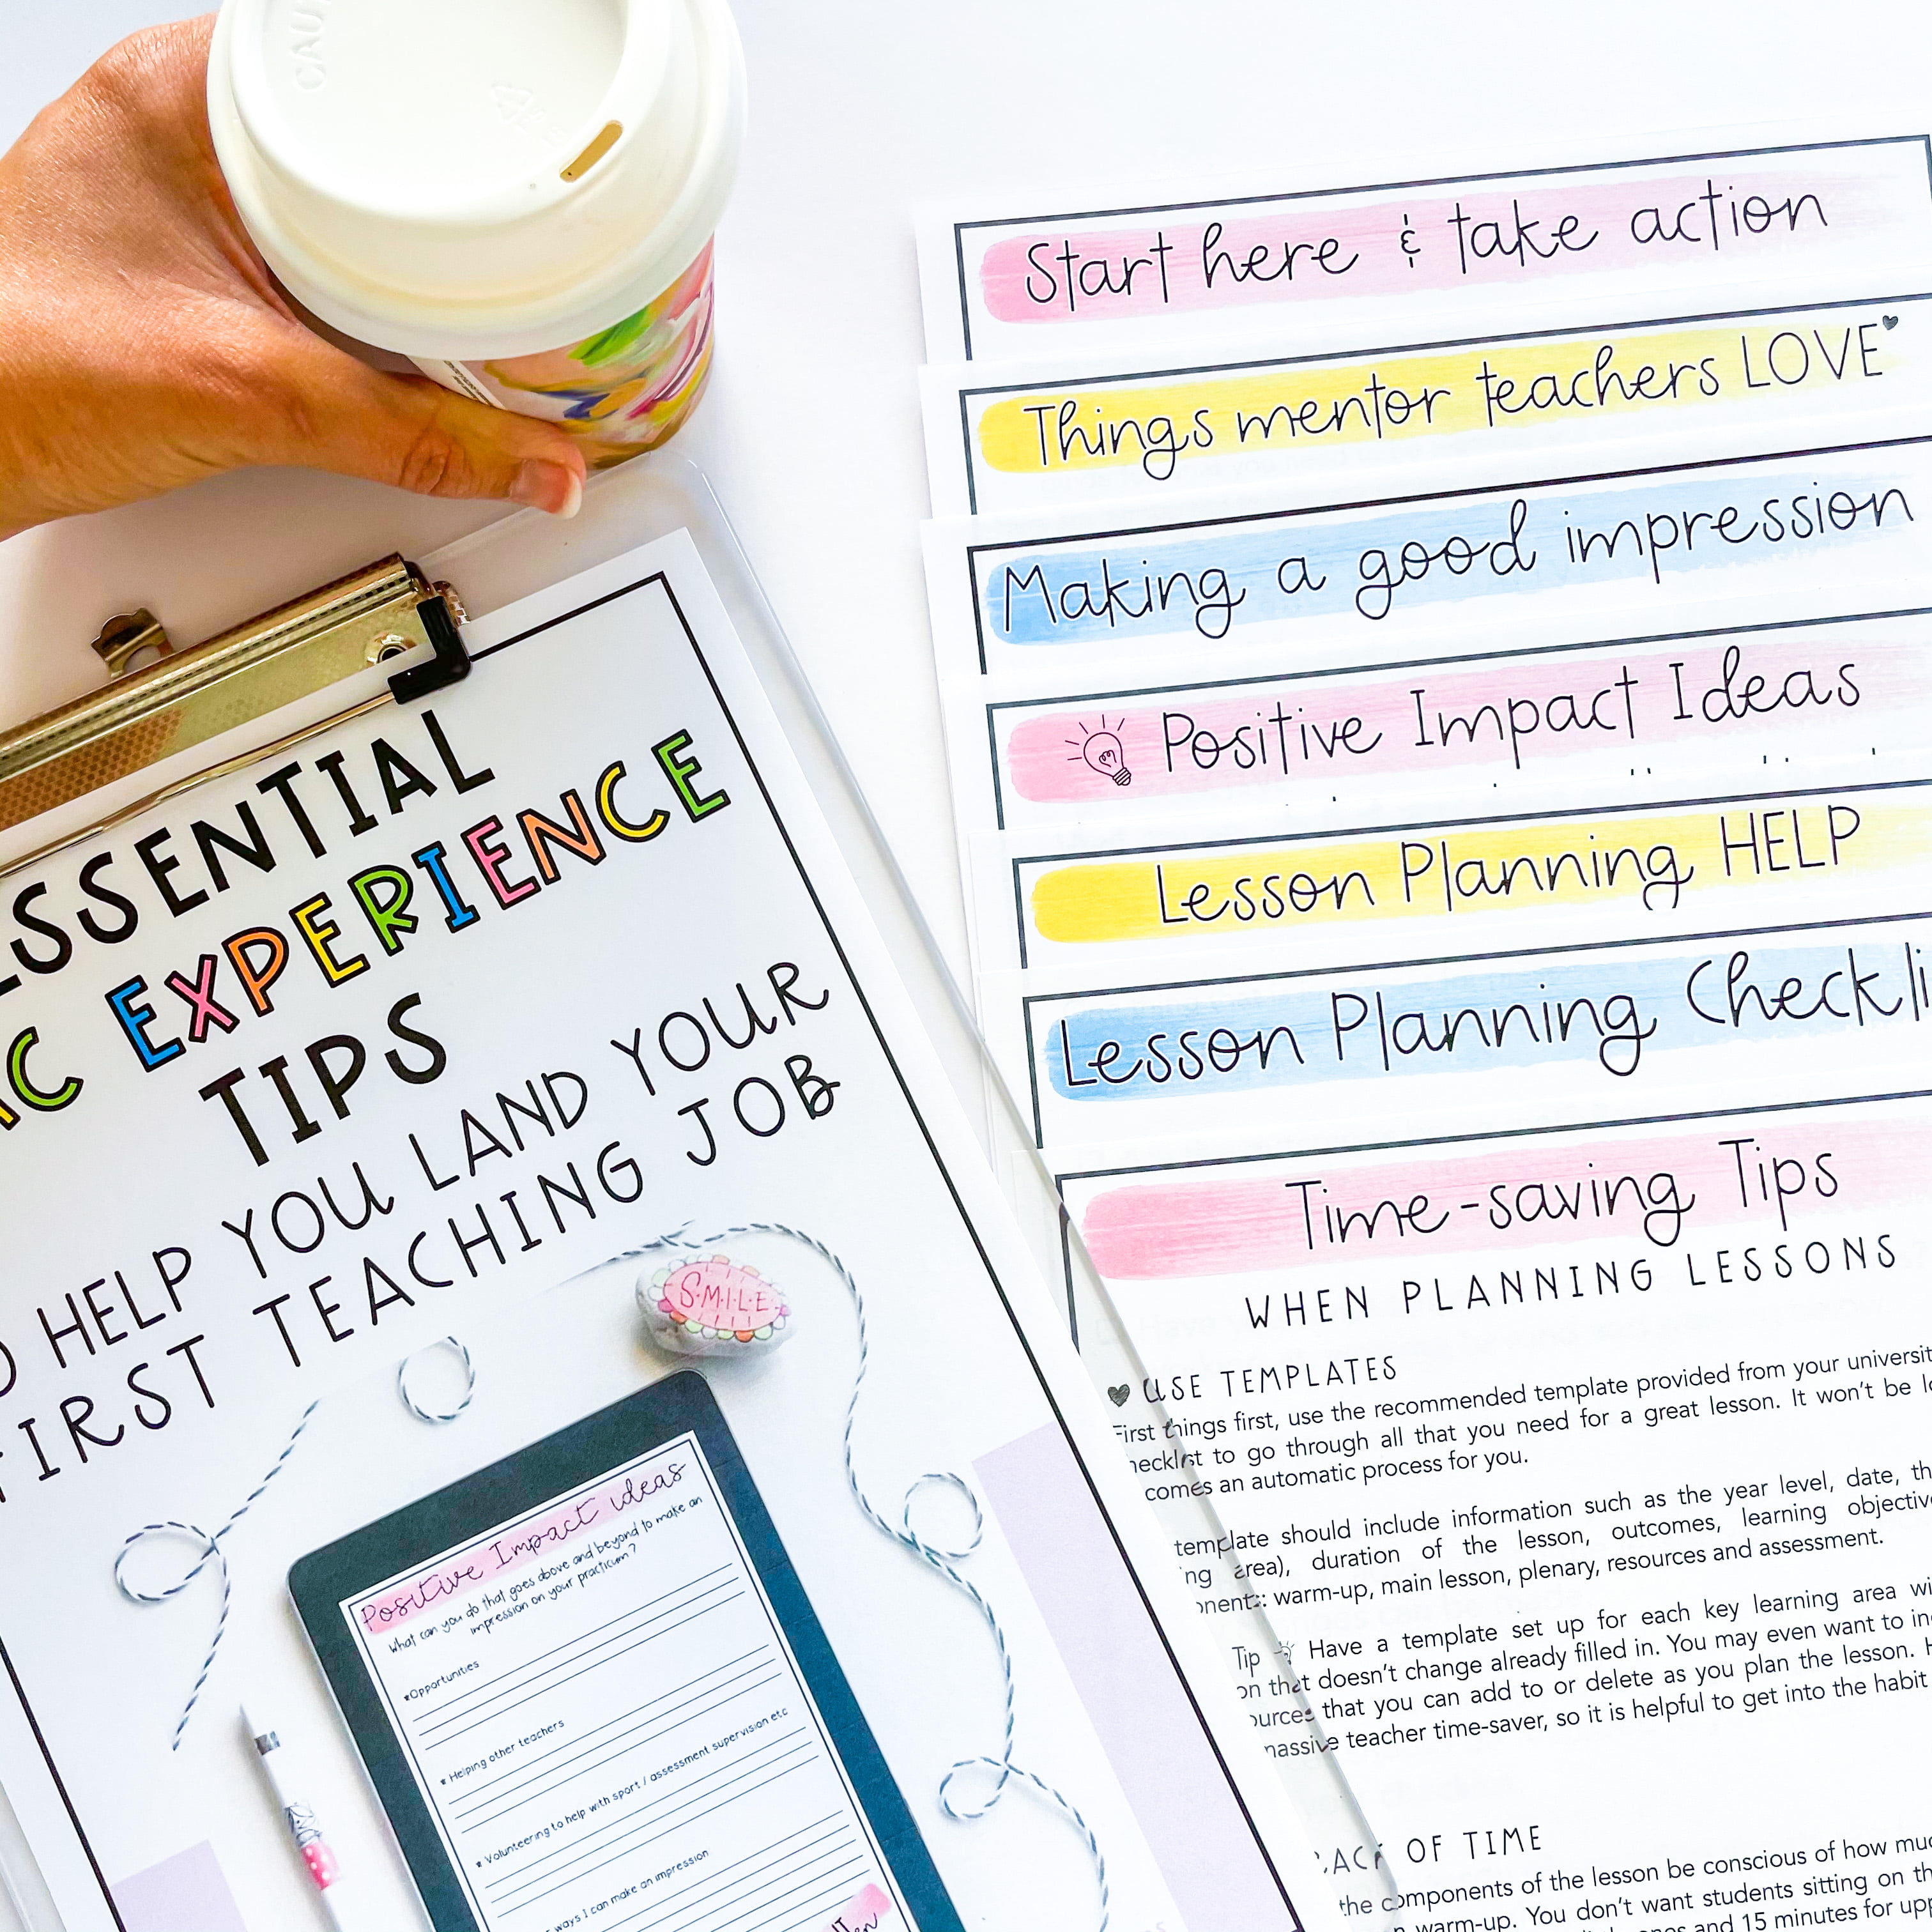
Wish you had a printable copy of this blog post? We have got you covered! Click here to download this FREEBIE to help you have a super successful prac!
Want even more help to impress your mentor teacher and have an awesome prac experience? Check out our Practicum Survival Guide. It includes a range of helpful forms and checklists, as well as loads of tips we have learned over the years teaching and supervising pre-service teachers! It will help you with everything you need to know for a successful practicum.
What to read next:
Preservice Teachers – 5 Essential Tips
3 Common Mistakes Teachers Make when running Reading Groups


